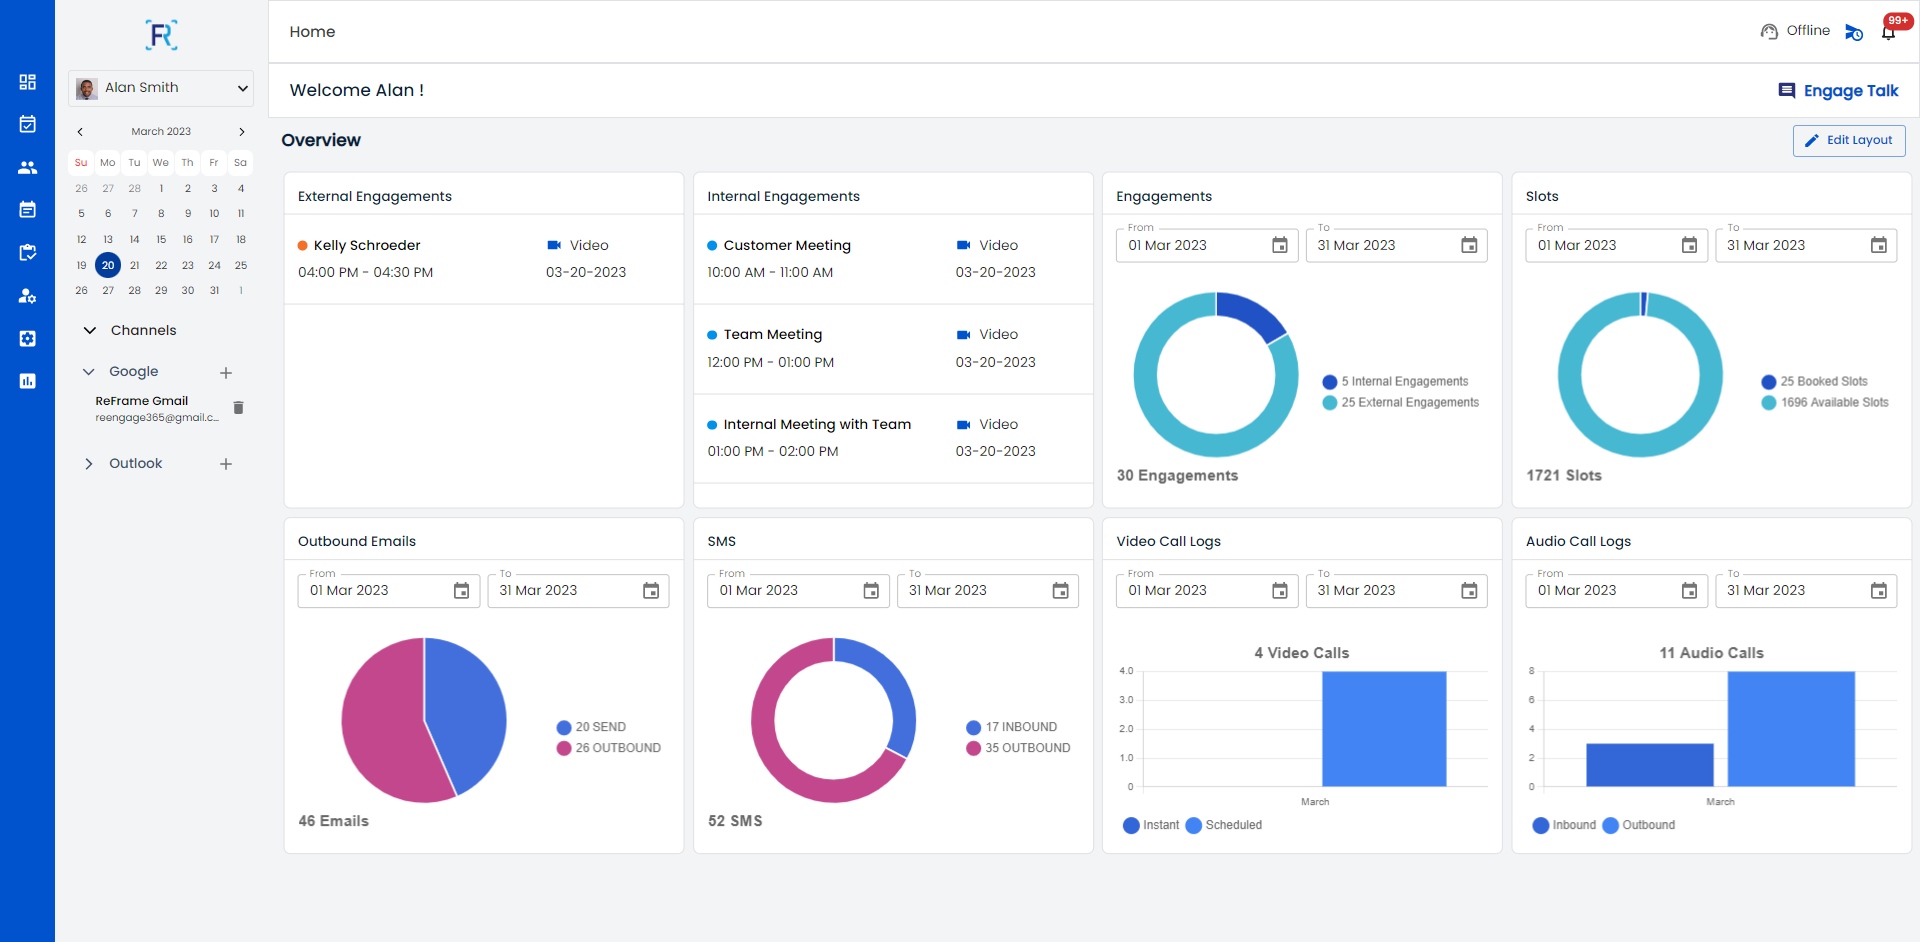
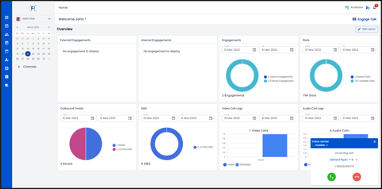
The Reframe Engage Dashboard gives a personalized view of each data set you would like to see. For example, Internal and External engagements, transaction history such as video calls, text messages, emails, call logs, engagements, and number of open slots available for your customer. These data sets can be moved around the screen by a drag and drop function for customized viewing.
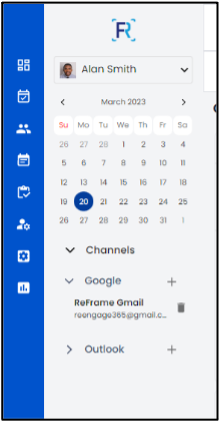
Channels gives customer the opportunity to connect their Google or Outlook Mail. By clicking on the “+” next to Google or Outlook you will have the option of logging in with your credentials and adding your mail accounts.
How to add your Google or OutLook Mail accounts:
Login to the ReFrame Engage system
The default landing page will be your Dashboard
On the left side under the Calendar you will see Channels (see above image)
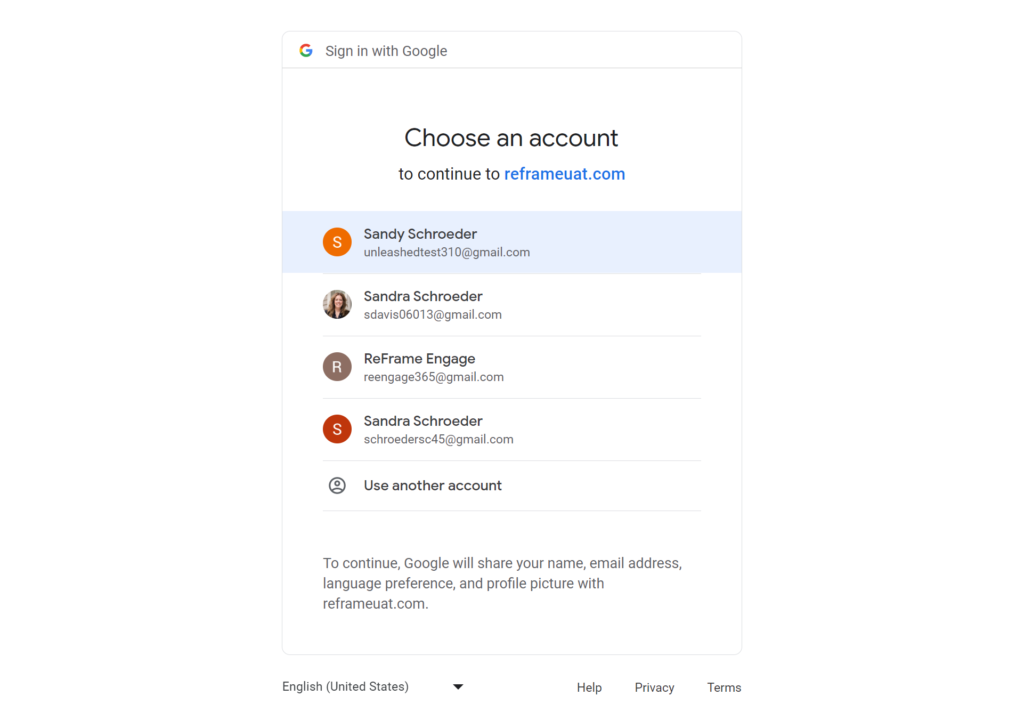
Click the plus sign for either Outlook or Google – login with your credentials and it will automatically connect.
It’s that simple!
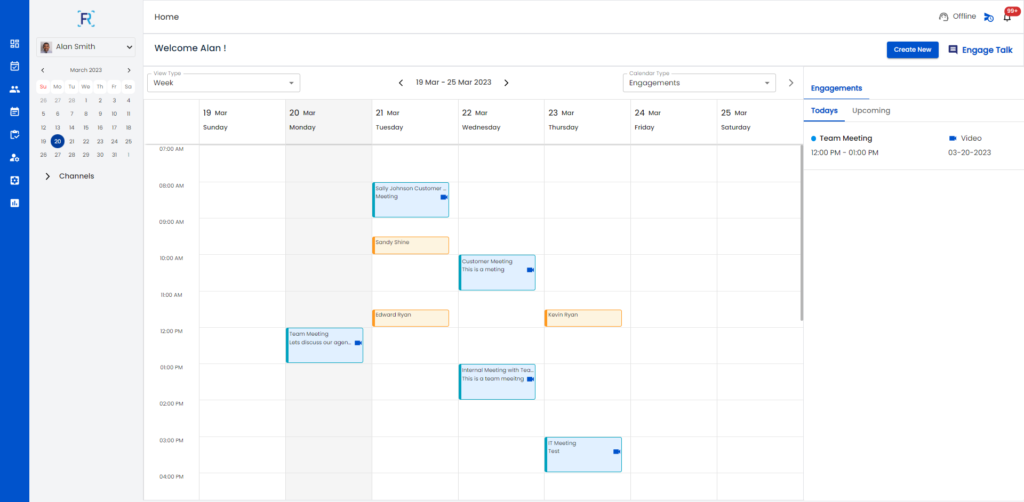
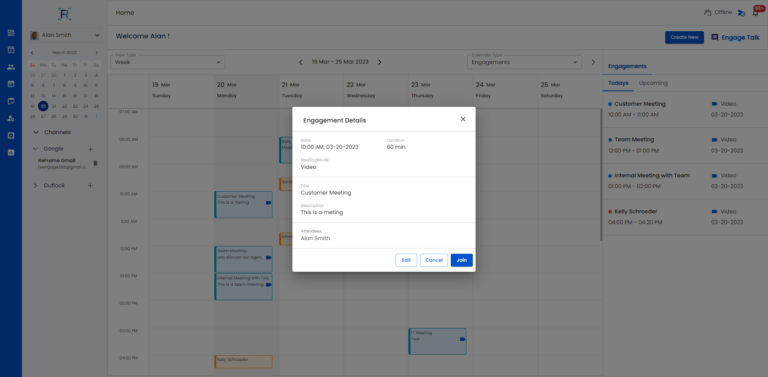
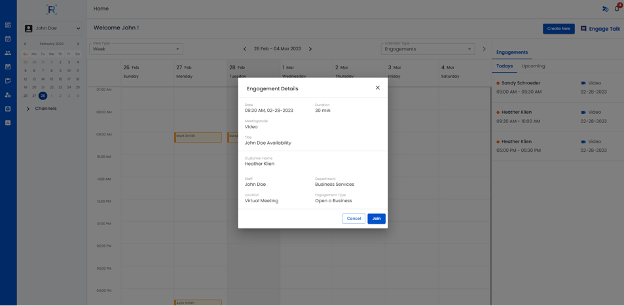
The Calendar page will show you all your appointments for the day for internal or external customers. The side pullout will display today’s appointments and upcoming. By clicking on an appointment, you can automatically join a call, cancel, or reschedule an appointment. You can create new engagements and see your available slots for individual or group appointments.
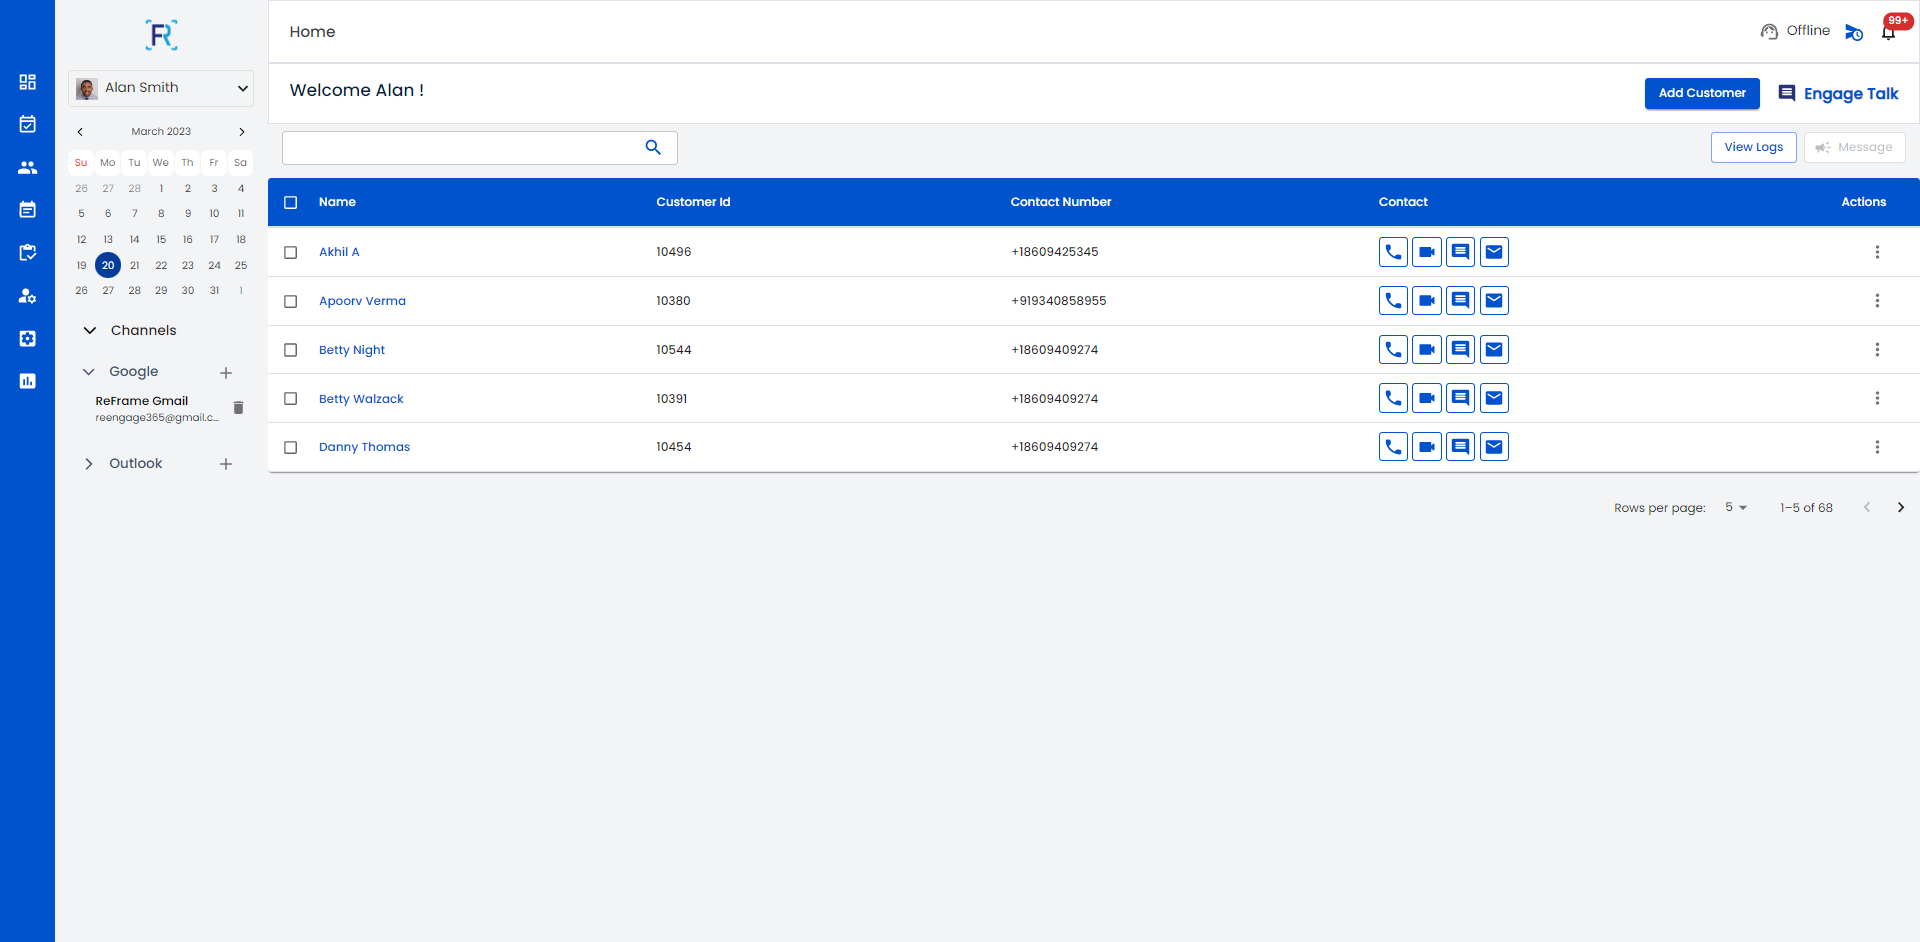
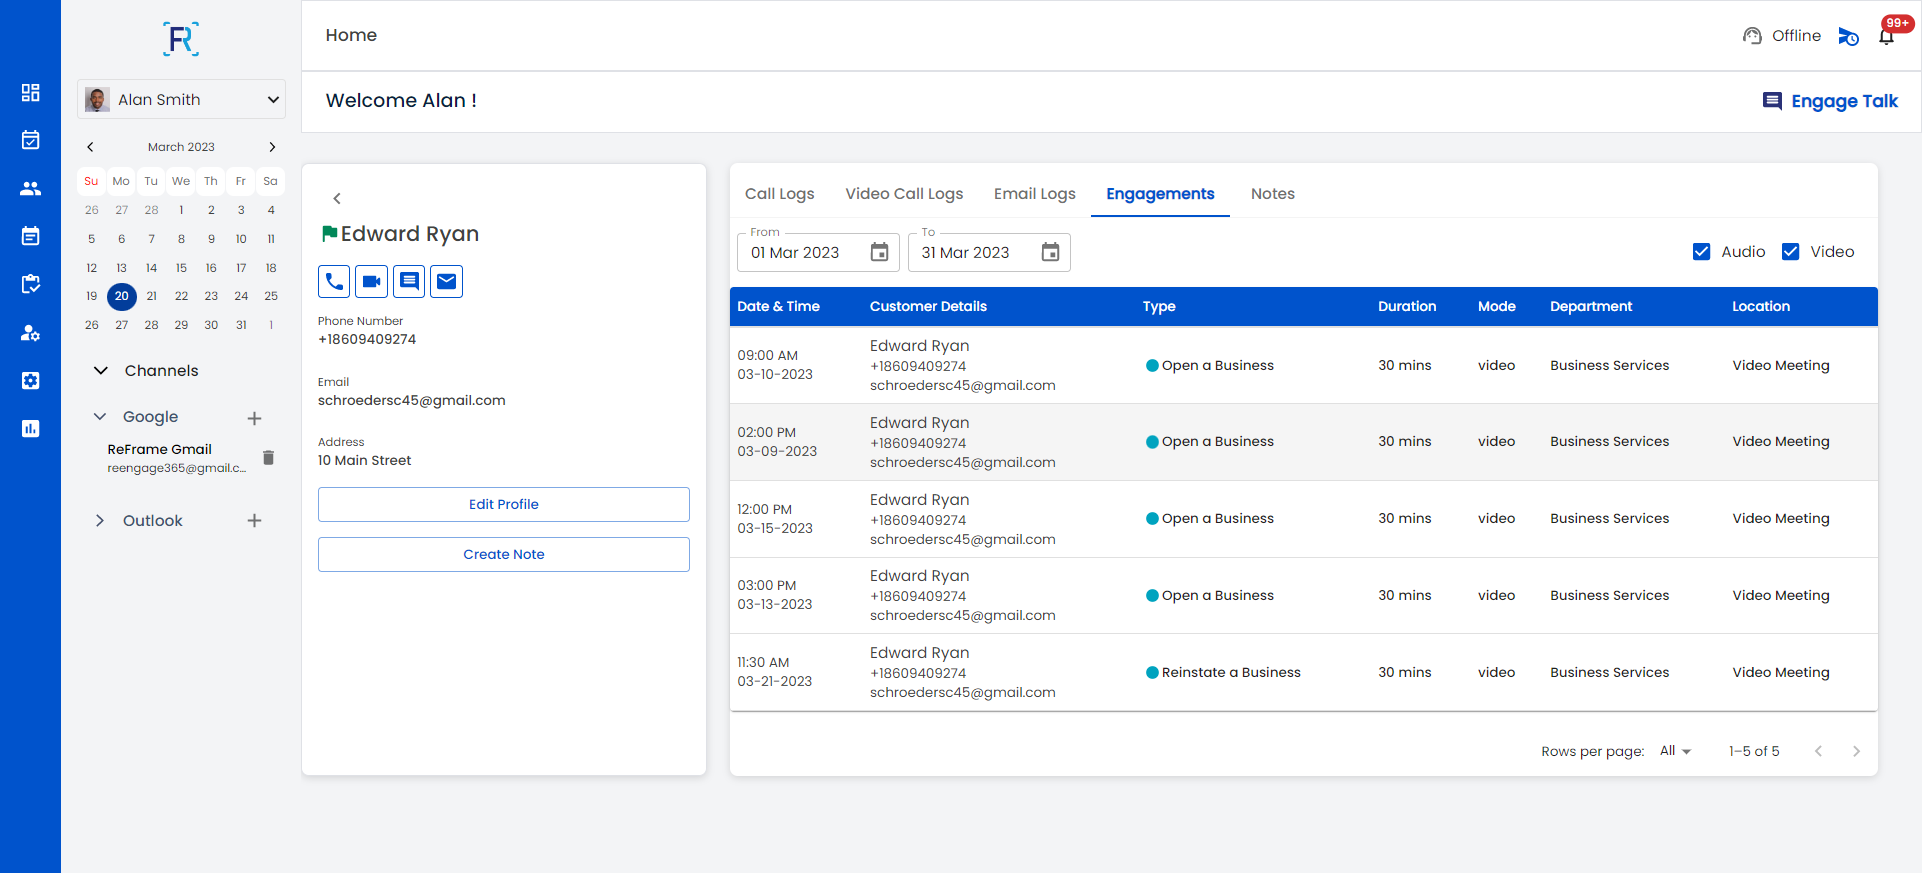
The ReFrame Engage CRM-lite offers many options for you to connect with your customers. By simply clicking on the customer record or communication icon, the system will immediately connect you with your customers in any way you wish.
Ways to connect with your customers:
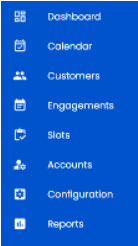
Go to the Customers section of the system by scrolling down the left side navigation
Select a customer name, it will bring you to the customer record.
Select any icon phone, email, text or video to connect.
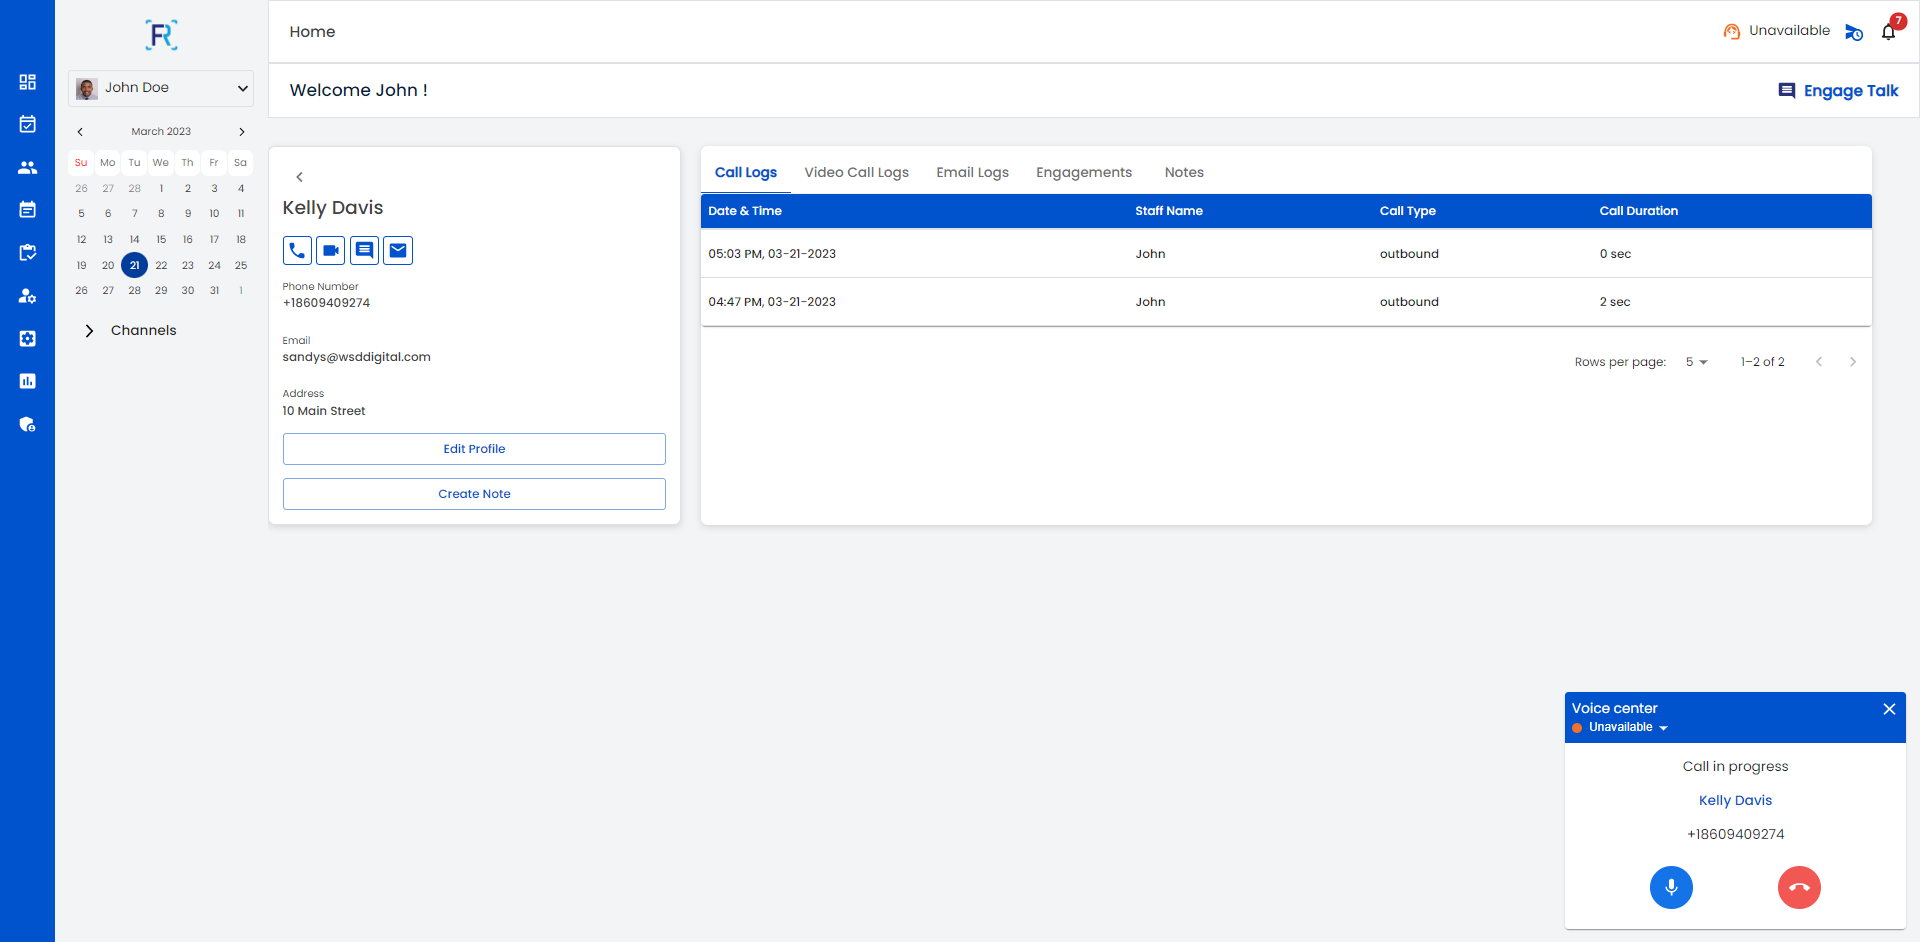
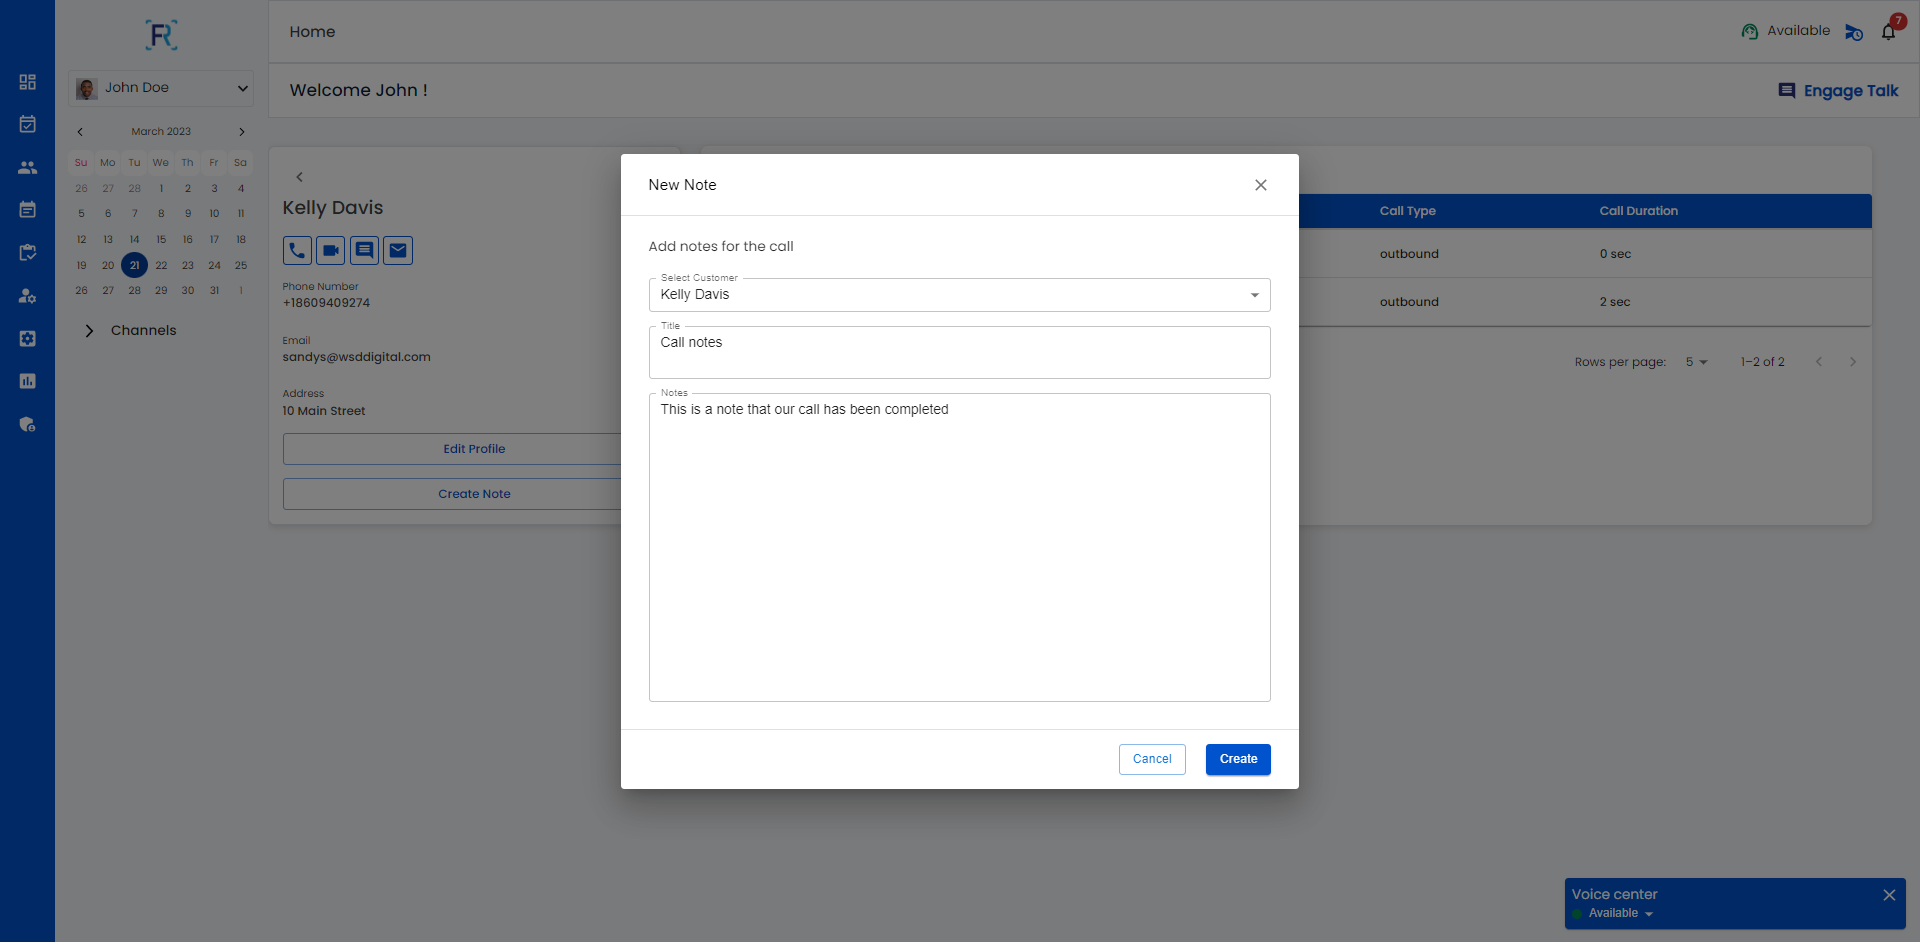
Customer Records
The customer record screen will give you all of the transaction history, for example, appointments, calls, texts, emails, notes and more. If you opt to use the Call Center function, when ending your call with your customer will force a note to complete your transaction within the customer record.
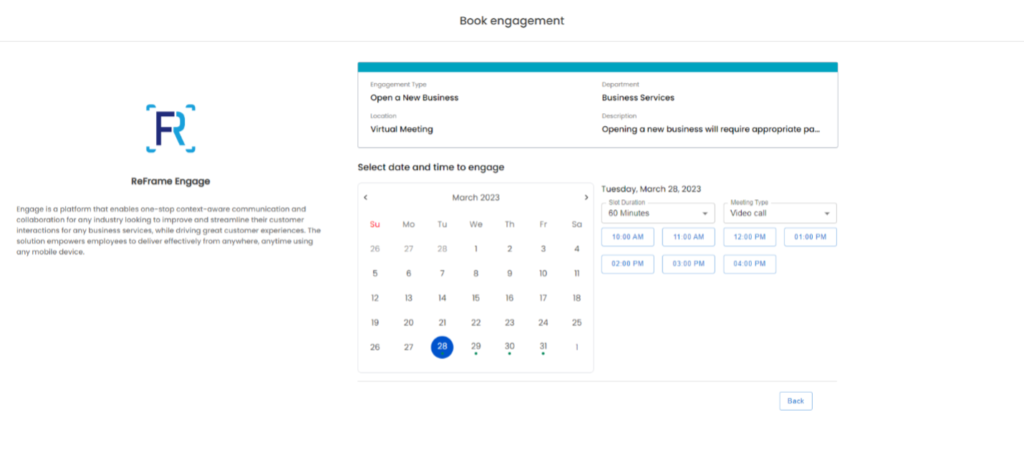
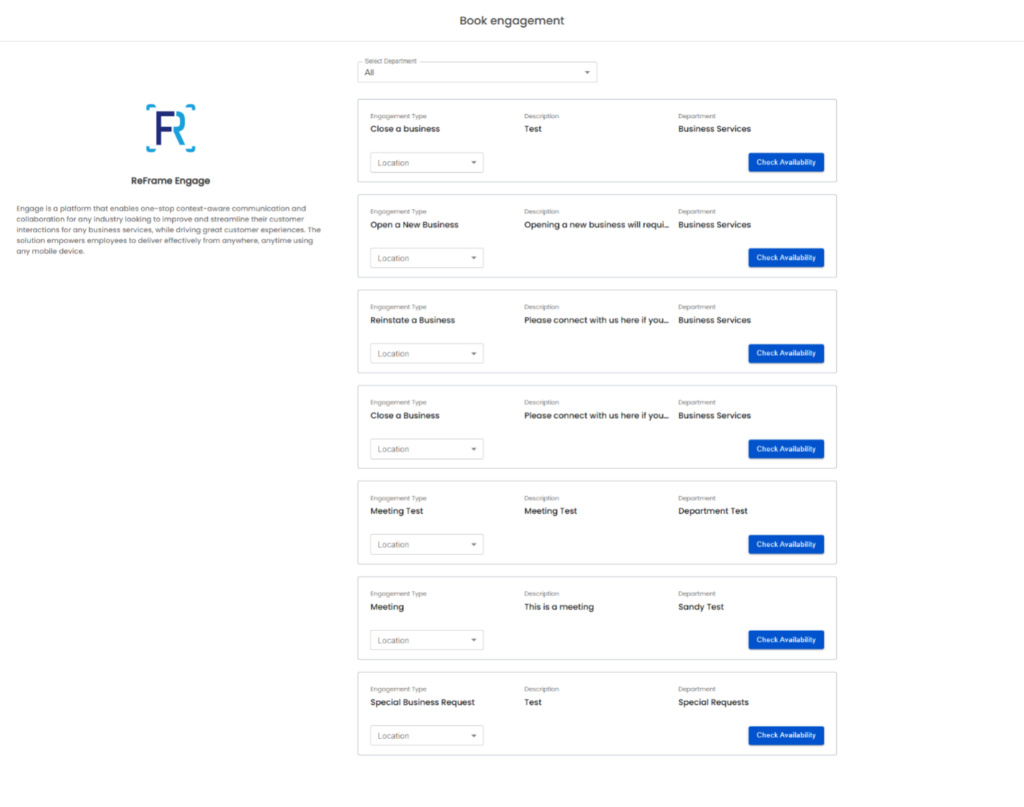
Each appointment engagement your customers book will come it the Engagement page of the system. Based on the details you setup such as Location, Department, Appointment type, etc. the engagements will display this information selected by your customers.
Round Robin for Group appointment
For Group appointments each appointment scheduled will be sent to the next available user that is showing availability on their calendar.
Personalized Link for Individual appointment
Personalized links can be sent to your customers so they can easily book appointments base on your availability.
Internal Group Chat
The system allows to send an internal chat by group or individual.
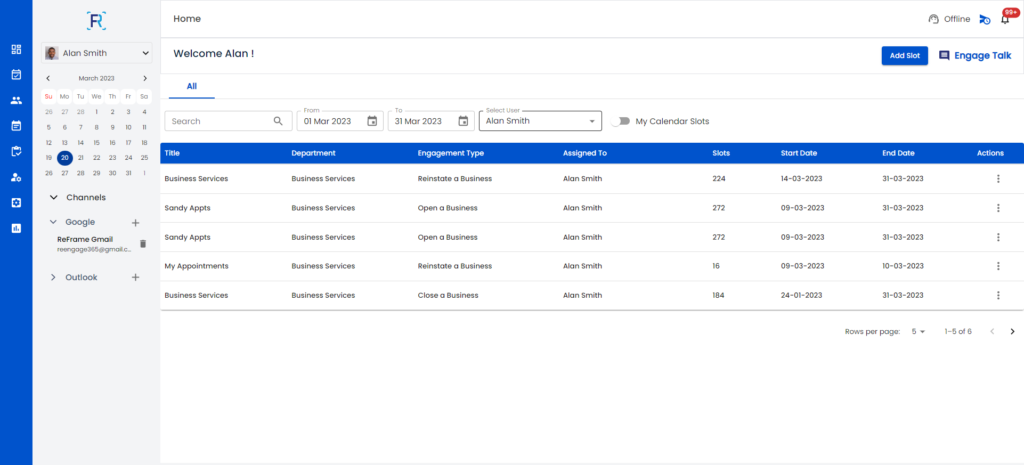
Slots
Our Slots management offers many options to book your availability. Group or individual appointment slots can be created as well as internal meetings. These slots are all manageable by user and can be edited at any time. The guided workflow of setting up your slots include options for location, department, and appointment type. You can include your own personal video link or use Reframe Video as an option.
How to create your own slots:
Go to the Slots section of the system by scrolling down the left side navigation.
Any existing slots you have setup will appear in the grid view.
You can edit or delete any slots at any time.
With certain permissions, you can see ALL users slots they have setup in the system.
Click on Add Slot bottom top right of the page
Slots and scheduling your first appointments
Zoom Integration
By connecting your ReFrame Engage account to your Zoom account, you can simply and easily connect with your customers and reduce the manual effort in sending Zoom meeting details for your engagement. Upon scheduling a meeting with your customers, ReFrame Engage will automatically generate a unique Zoom link and dial-in details. The below video will show you how it works:
Steps on how to connect your Zoom Account and schedule a meeting with video conferencing.
Steps to add your Zoom Account to ReFrame Engage
ReFrame will configure Zoom integration capability into your company account upon onboarding to the ReFrame Engage system.
Your company will automatically have the option of connecting your personal Zoom accounts upon:
Logging into the system after you have been added as a user to the ReFrame Engage System
Once logged in, go to your profile, select the plus icon next to (not connected). By selecting the plus icon you can switch your connectivity to on/off.
Once clicked you will be prompted for a onetime login on your personal zoom account. This will always be connected until you disconnect the Zoom account under your profile.
All users must individually connect their Zoom account once logged into the ReFrame Engage system. Admins cannot connect a Zoom account on users’ behalf.
Steps to create a meeting with your Zoom Account using ReFrame Engage
When logged in, go to Slots on the left side navigation.
Select add slot. The popup window will give you the option to create Group slots OR individual slots. If you are connected to your Zoom Account in My Profile, by selecting Video as a location and meeting type, the meeting link will automatically be embedded in the slot creation.
When users schedule an engagement, the link will be provided in their email notification to join the Zoom Meeting.
Steps to join a meeting using your Zoom Account with ReFrame Engage
When logged in, go to your calendar. Simply click on your meeting and you can join the call directly from the meeting invite.
You may also join a meeting from the customer record in the CRM-lite section of the application.
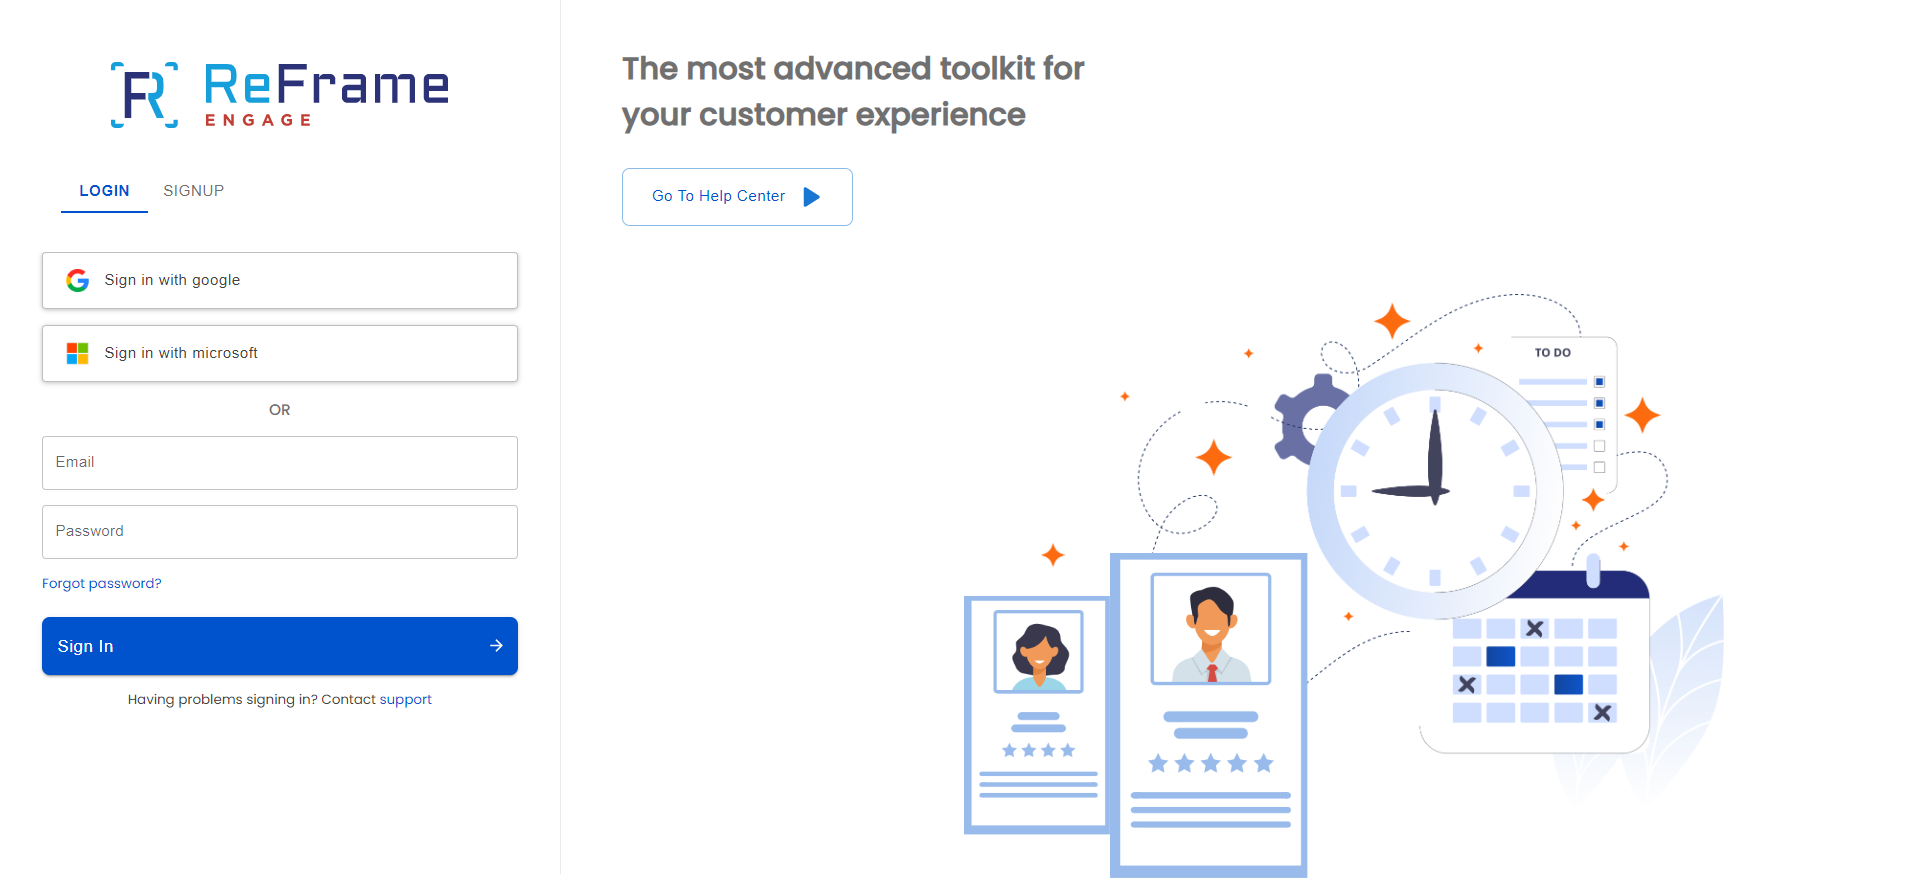
Outlook and Gmail
Steps to add your Outlook and Gmail Calendar
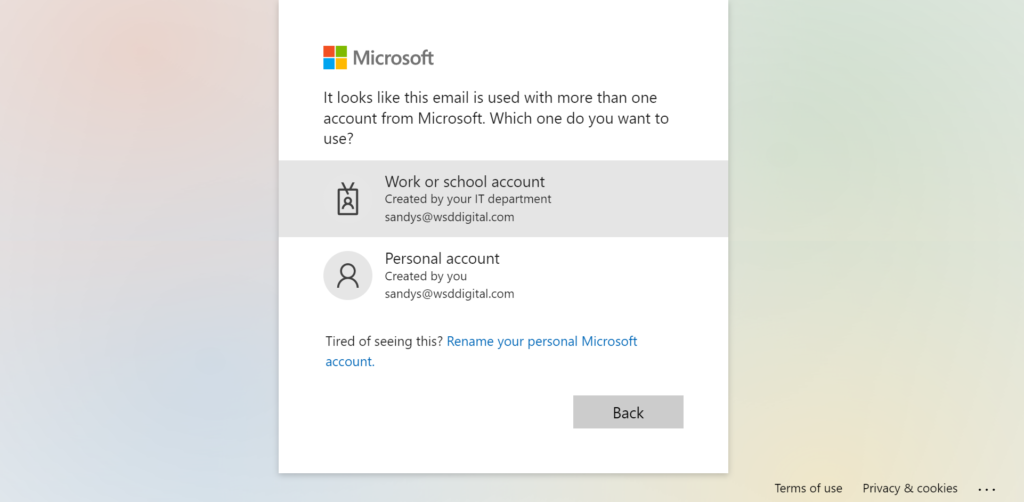
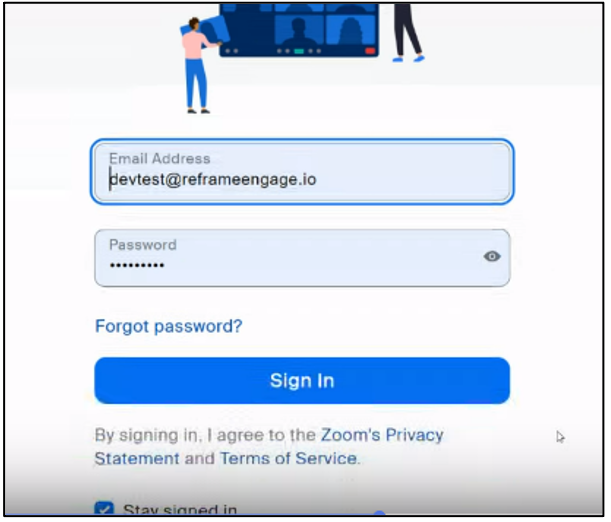
At the Login page use the Google or Outlook button to login with your credentials.
Once logged in, you will be redirected to the ReFrame Engage System
All appointments that are scheduled and either assigned to you or you create your own individual availability will also show up in your Gmail or Outlook.
How to use Call Center
The Call Center Feature is automatically configured and turned on for your staff. Each staff you add will automatically receive this feature. Selecting “available” in the upper right-hand section of the system will allow the staff to make outbound calls and receive inbound calls. The configuration screen will allow organizations to create their own inbound message for your customers.
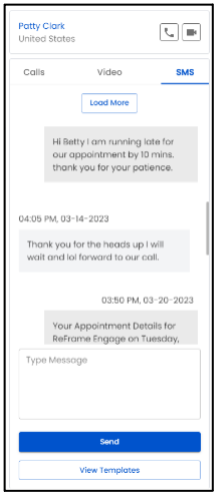
Using 2-way text messaging.
You can directly send an outbound text message to a customer by going to the customer record, clicking on the SMS ICON and type your message.
Your customer will receive the message on their phones and be able to reply to you directly in your SMS message window.
If you are not logged into the application, you will see the message when you log in OR if you are logged in you will hear a “bell” and alert ICON on the top right of the application.
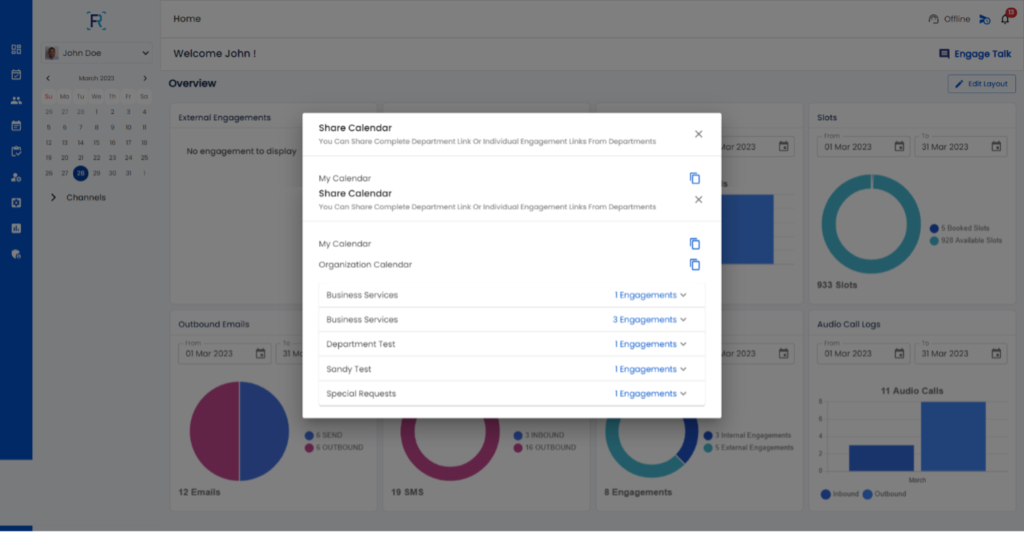
How to share your availability with your customers
Click on the ribbon ICON top right of the application next to Bell ICON
Click the Copy ICON for your Individual or Org slots OR if there is a custom department you want to share.
Paste your link in any correspondence to your customers
Once they click on your link they will see your available calendar